Why Cedar Shake Accent Wall Are the Perfect Choice for Your Home
I love cedar shakes. And, although red cedar is my favorite, white cedar is no slouch for look and durability. In the research I performed, I located a cedar firm called Direct Cedar & Roofing Supplies in Abbotsford, BC, Canada. This was the find of a lifetime. I spoke with Paul Wilson who is one of the owners and he provided some of the best information on cedar shakes that I have ever had.
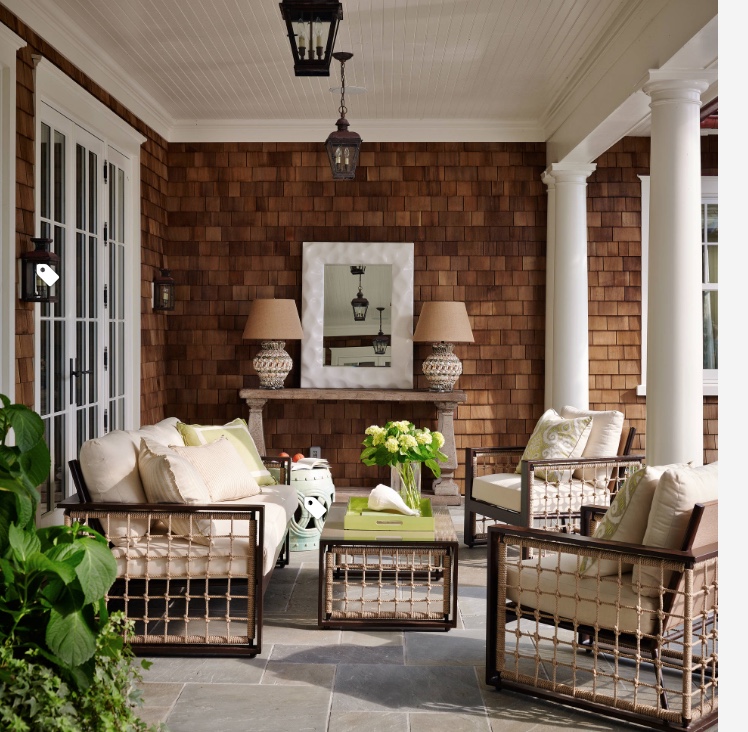
Direct Cedar has multiple kinds of cedar shakes but I was interested in red cedar for the look I was going for on an exterior accent wall on our house. This wall is just the back wall of our garage where the patio is and since we’re redoing the patio area I wanted an accent wall of cedar to really set the mood of the new look. That wall is currently a large area of vinyl siding that I have grown tired of looking at. Not only that, It’s a huge wall of almost 200 square feet of vinyl siding. It’s pretty ugly. Enter cedar shakes!The two choices for red cedar were Certigrade #1 and Certigrade #2. Both are the same price but the difference is striking. Certigrade #1 is very smooth with little grain and no flaws or imperfections. The saw marks are sanded away and if you didn’t take a close look you would think they’re almost too perfect. You would use this shake if you wanted a uniform and consistent look to your home where very little grain is shown. You could easily paint this shingle if you wanted. This was not what I was looking for as I was not going to paint the shakes. I wanted to stain them a natural colored stain to really show of the grain and colors.
Paul Wilson then suggested that Certigrade #2 was the most popular choice in the Canadian North West. Paul said that people love the rougher looking shake along with the visible saw marks. These shakes are much more difficult to paint but are easily stained and colors after their stained become stunning. The Centigrade #2 shakes is a natural shake that has knots in the upper section that are hidden from view on the reveal but that part of the tree is where all the color variations are. That was all I needed to hear.
I ordered four boxes that contained 50 square feet per box and five days later they arrived. (That was impressive on all its own.) Paul sent me his recommendations for what kind of stain to use to achieve my look and I went with Cabot Australian Timber Oil at $44.00 per gallon. Pricey, but well worth it.
While I waited for the shingles to arrive I removed all the vinyl siding and took it to the dump. I then purchased a new back access door to the garage and installed it. I added insulation in between the studs to the back wall of the garage and then installed the Tyvek wrap and then attached the OSB board to nail the shakes too. For good measure, I added tar paper even though I probably didn’t need to. (I insulated the garage wall because we eventually want to add a Hotdog Heater in the garage and that was the last wall that needed insulation. Smart!)
The next phase was “mentally” the toughest part of the project. Staining each individual shake before putting them up on the wall. Granted, you only have to stain half way up the shake but there’s a lot of shakes to stain in each one of those boxes and they come in five different widths. You also have to stain the sides of each shake and that would not be easy once they were installed. I did not want to stain the shakes after I installed them because I wanted to do it right the first time. I’m a firm believer in doing things right the first time.
There’s a new back door to the house and a floor to ceiling window from the Window Design Center coming in next week as well so I wanted to get as much of the cedar shake work completed before those two items arrived.
Once I got everything completed I created my “story pole” for installing the shakes and got to work. This is where I left off and when the project is completed I will post the finished looks.